Welcome to a third post of a behind-the-scenes look into my Ableton Live setup. The first posts are something of a primer, describing the gear I use and the basics of setting up a mix; from here, I dive a little deeper into the Ableton waters. If this is your first time here, or if you’re new to Live, you might want to start at the beginning.
The Click
One of the first things I set up in a typical Wits session is the click track. A click is a really helpful tool on the show; I use it both as a quick reference before counting off a musical number and occasionally as a metronome when a consistent tempo is helpful. Live has a built-in metronome which is routed by default to the cue mix, but since mechanical beeps are a little less than inspiring I prefer to use clips on a dedicated track.
What I do is create a MIDI track titled “Click,” route it to “Sends Only,” and load up a percussion preset of Live’s Impulse instrument:
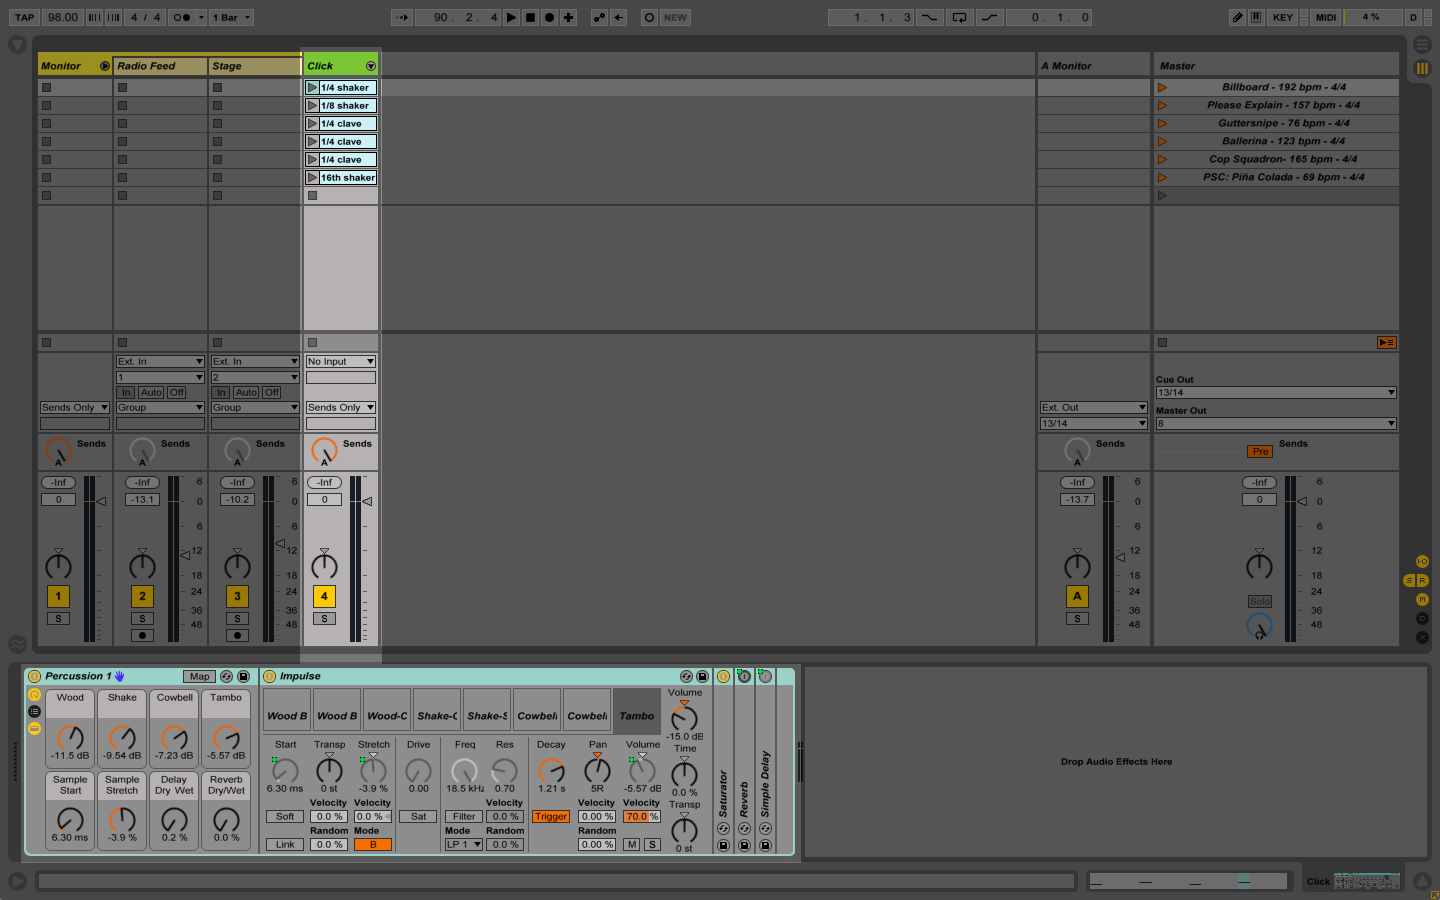
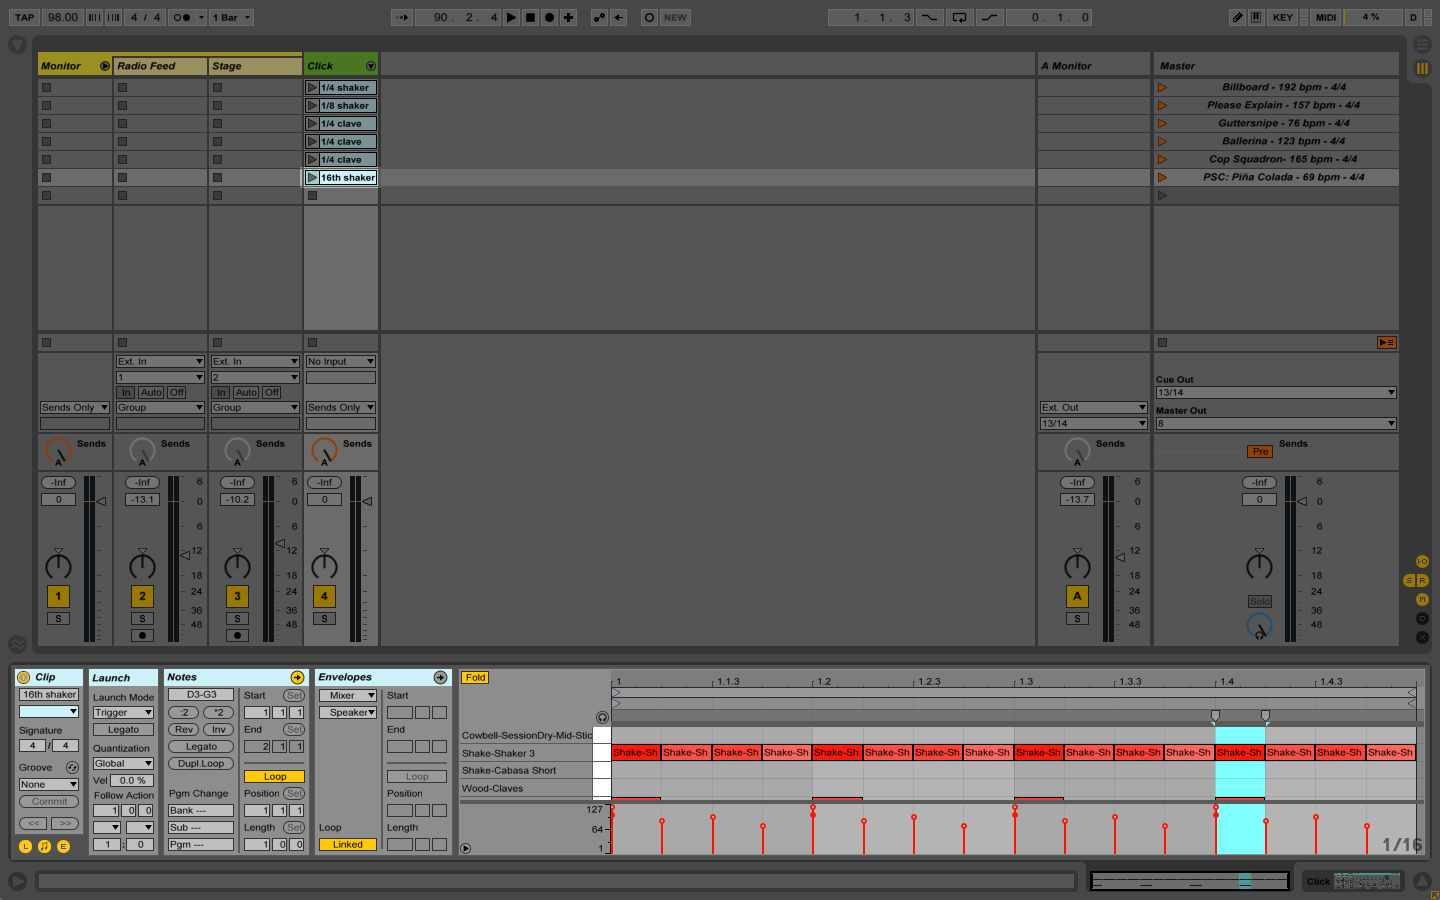
Impulse is Live’s basic sampler; it’s easy to use and uses very little CPU. Once it’s loaded up with percussion sounds it’s just a matter of creating a MIDI clip and programming a pattern, like this simple 16th note shaker:
When I get a loop I’m happy with, I drag the finished clip over to a folder I keep in Live’s Places titled “Click Sounds”:
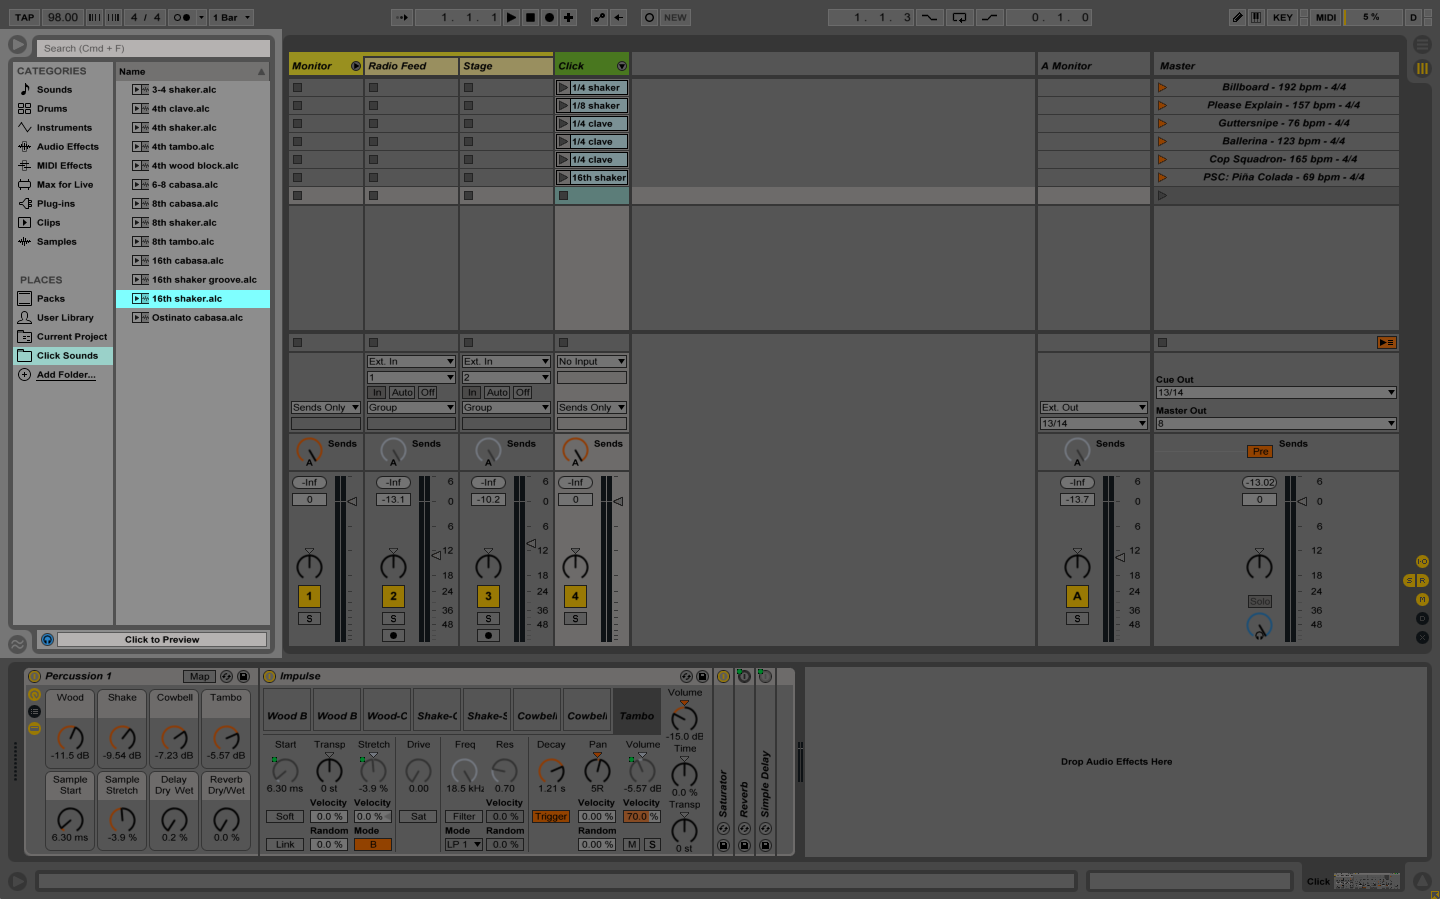
Clips saved in this manner will save not only the programmed clip but the track’s instruments/effects as well. I have a bank of clips saved, so for anything that needs a click track it’s as simple as dragging a clip from the folder to an open cell in the appropriate scene.
About Those Scenes
Each row in Live’s session grid is called a scene. In the example I’m using today, there are six scenes created:
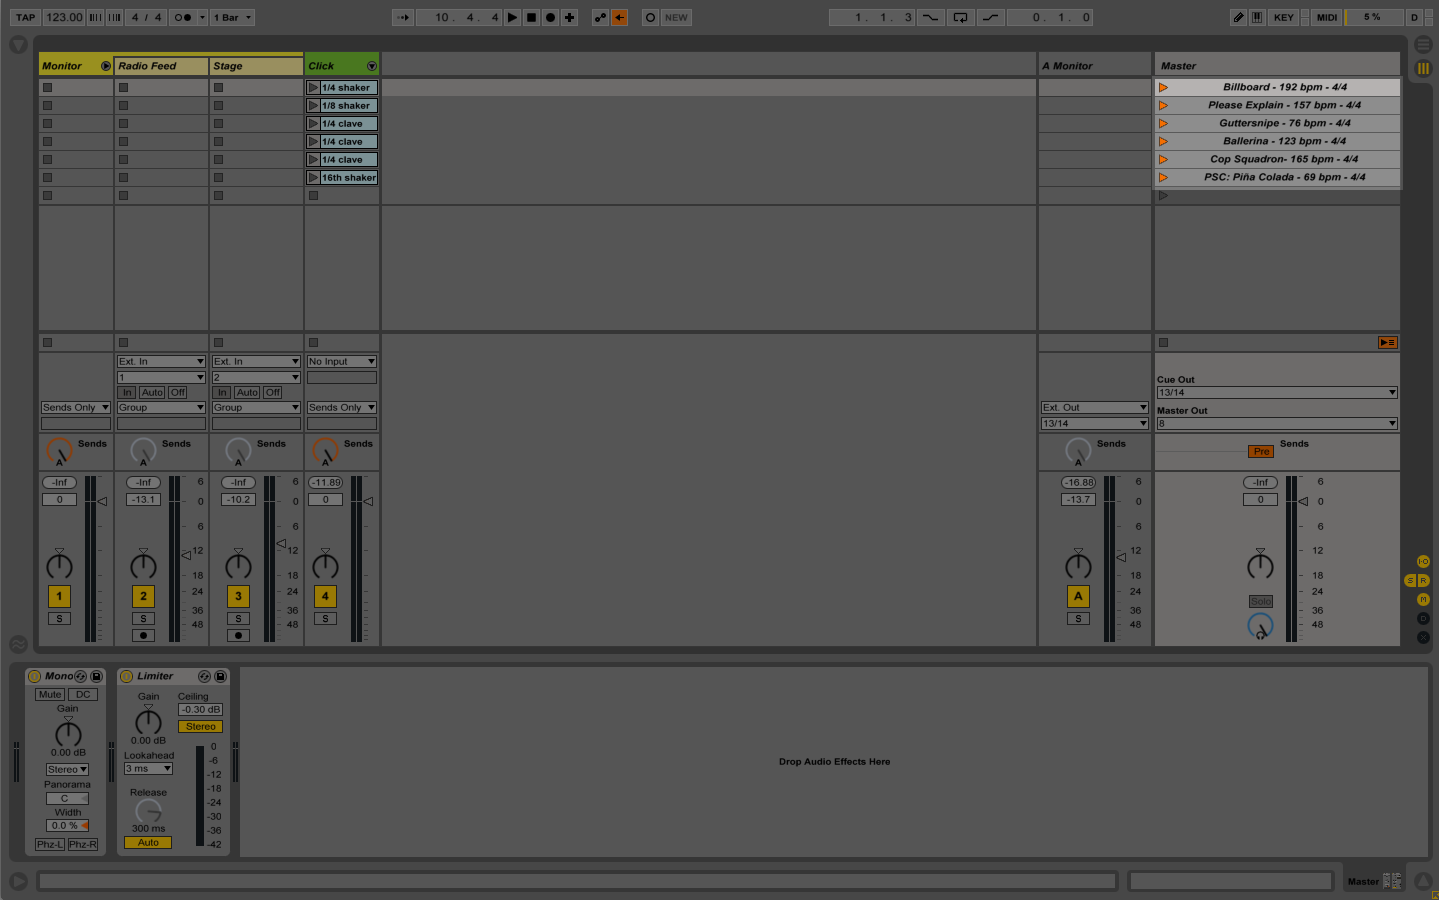
If you recall, launching a scene will trigger all clips in a scene’s row (in this case, the only clips so far are the click sounds). You launch a scene by pressing the launch button (the orange triangle next to the scene title), hitting the Enter key when a scene is selected, or triggering it via MIDI (more on this later).
You’ll probably notice the scene titles are pretty specific, for example, “Billboard – 192 bpm – 4/4.” One cool thing about Live’s scenes is you can pass tempo and time signature changes via the scene title; in this case, launching the “Billboard” scene will play all clips in the row in a 4/4 time signature at 192 bpm. Slick, right?
In the Launch tab of Live’s preferences you can adjust the scene launching behavior; I always have both “Select on Launch” and “Select Next Scene on Launch” set to “On”:
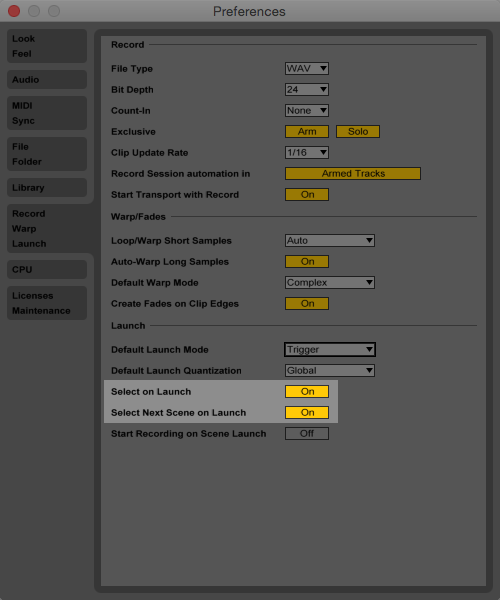
As you can guess, having these options enabled means the scene launch button will not only launch the current scene but also cue up the next scene. Moving through a setlist couldn’t be easier.
Map It Up
I don’t want to mess with the laptop once I’m behind the kit, so I use my Roland SPD-SX to navigate the session using Live’s MIDI Mapping functionality. Mapping a button in Live to a physical button on a MIDI controller is stupid-simple:
- Place Live in MIDI Map Mode (Command+M on a Mac).
- Press the button you want to control.
- Press the corresponding button on your MIDI controller.
The SPD-SX needs a little setup before using it as a MIDI controller. I create an empty user kit, name it “Scene Launch,” and assign MIDI numbers to each pad: MIDI note 001 is assigned to Pad 1, 002 to Pad 2, 003 to Pad 3, etc. Next, I put Live into MIDI Map Mode and assign a pad to various functions in Live I want to control:
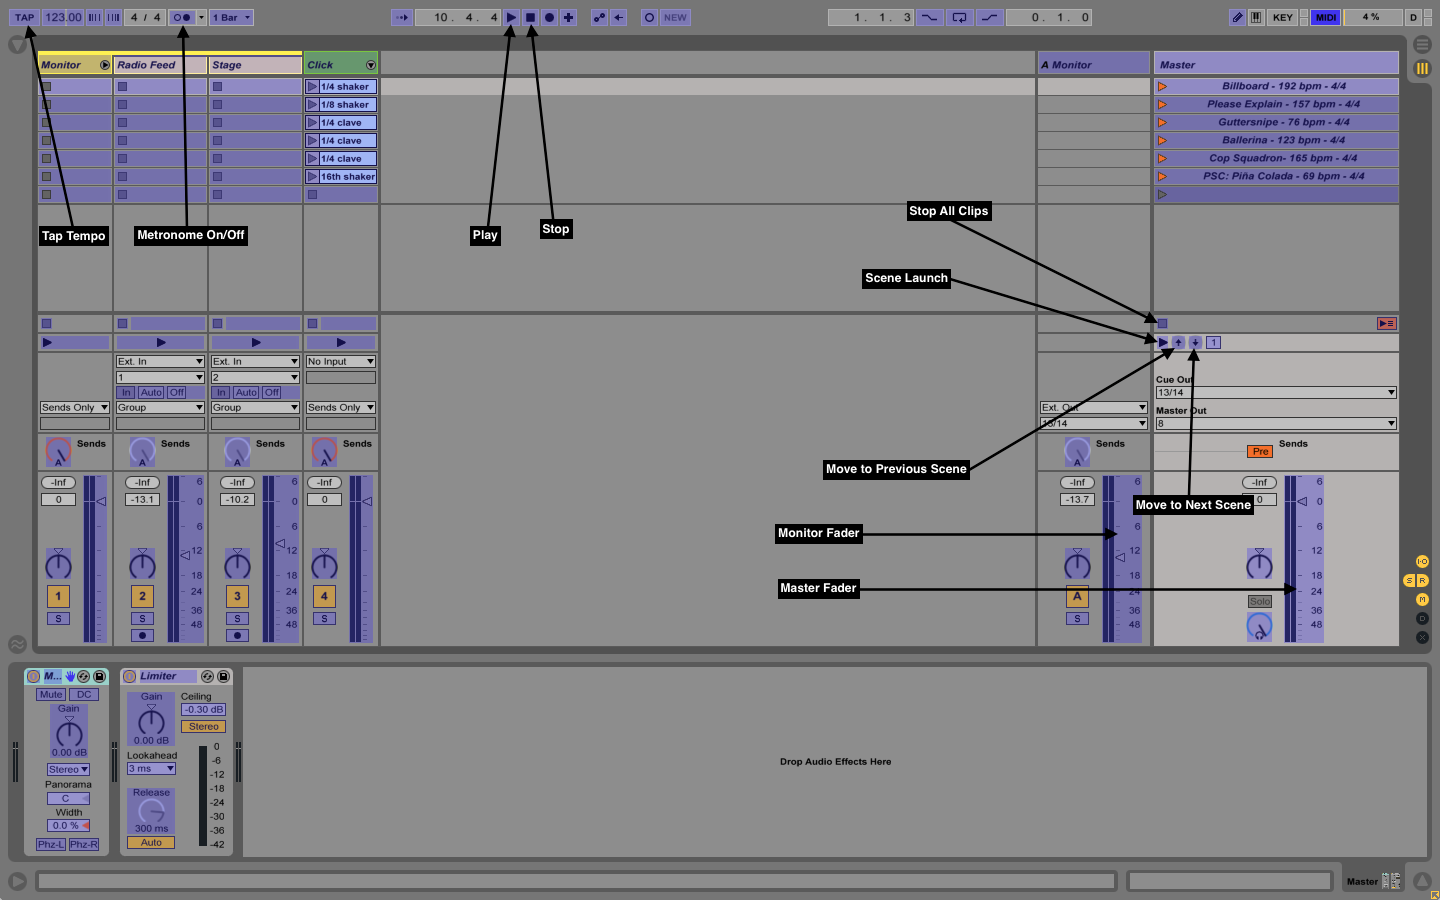
I’ve also mapped the mix bus faders to the SPD-SX’s two control knobs, and I toggle Live’s transport with a Boss footswitch.
The Click Scene
So, now that everything’s set up…how does this all come together?
For anything that needs a tempo reference, I’ll create a scene and title it with the name and tempo information. In that scene, on the Click track, I’ll drag in an appropriate loop from my Click Sounds folder.
During a show, I’ll hit a pad on the SPD-SX to launch the first scene, which feeds a click track into my in-ear monitors. I can shut off the click with the footswitch (or start it up again if I need to). In the meantime, Live has cued up the next scene. Rinse and repeat.
That Sounds Easy
It is!
But You Made It Sound Complicated
Well, I’m not the best writer. But thanks for reading! I promise I don’t just use Live as a glorified metronome — turns out I actually use it for fun things like playing music. More on that in my next post.